6 Simple But Useful Ways to Edit Images for Your Website
Updated August 2025
It’s entirely possible to upload unaltered, unedited images to the internet and use them on your website, blog, or social feeds.
However, when there are so many simple ways to edit, manage and improve pictures available to you, there’s little excuse for not taking full advantage of these tools and resources.
With that in mind, here are some tips for straightforward yet effective image editing that will deliver improvements instantly, but require very little effort or expertise in graphic design.
Choose stock images that are prepared for easy customization
If you want to minimize the amount of legwork required to get great-looking, bespoke images on your website, stock photo archives are an ideal starting point.
Better still, these repositories include thousands of photos that have been made by experts so that you can quickly paste in your own touches without having to do any time-consuming tweaking beforehand. In short, if you don’t have to start from scratch, it’ll take less time to achieve the results you desire.
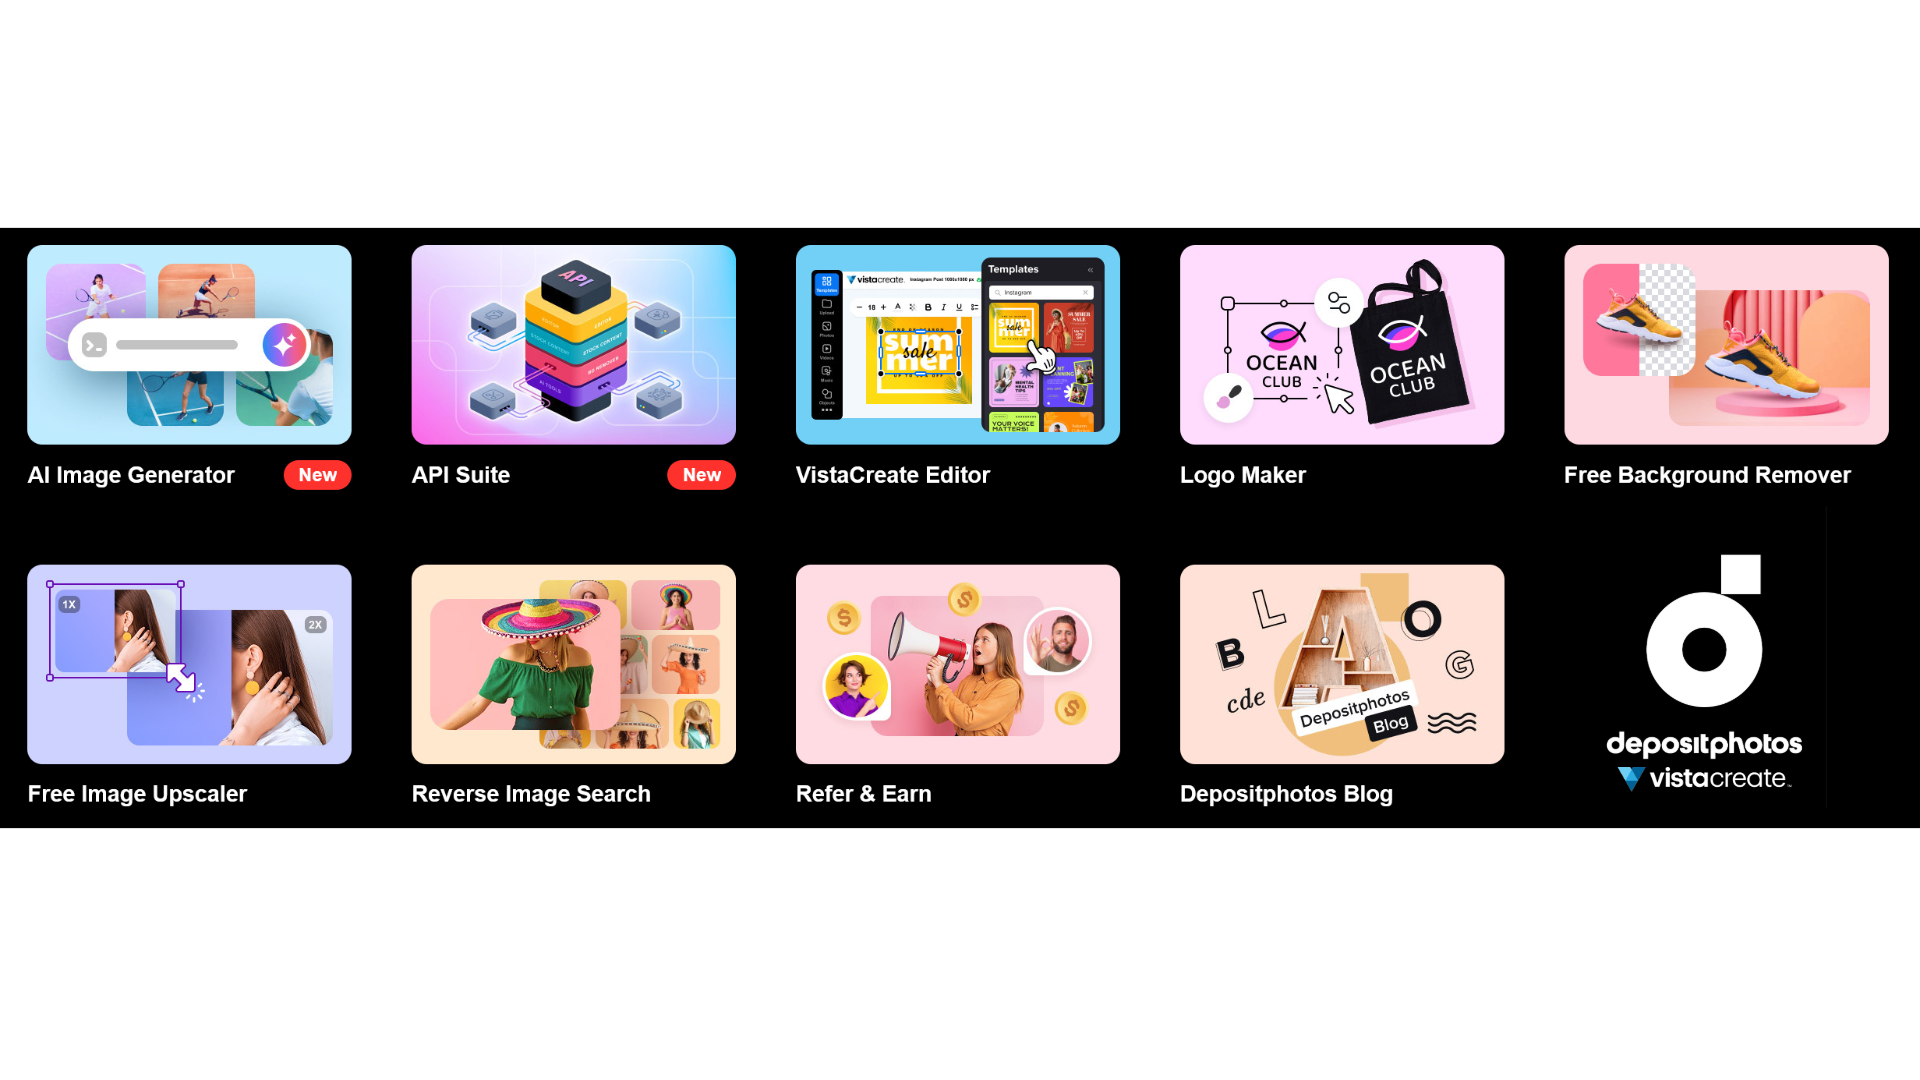
For an even more efficient approach, consider using DepositPhotos' AI image generator tool, which allows you to create custom images from text prompts rather than browsing through existing stock photos. This tool can generate unique images tailored to your specific needs and brand requirements, saving you the time of searching through thousands of stock images while still providing professional-quality results that serve as a great starting point for further customization.
Apply a filter
Another speedy fix for your image manipulation needs lies in the availability of myriad filters that can instantly change the look and feel of photos.
Even basic social media and smartphone camera apps come with surprisingly competent filter options, but it’s still better to capture snaps in an unadulterated way and make adjustments afterward using separate editing software.
Obviously, you need to keep your brand identity in mind and aim for consistency in tone so that there’s one overarching aesthetic to your site.
Use a background remover for images that work best when transparent
Transparency is a tricky concept to grasp and get right if you’re an image manipulation amateur. However, lots of files will look more attractive if certain portions are made transparent, allowing the objects on the page behind them to show through.
This is where Be Funky’s background remover comes into play. It’s the ideal tool for cutting out superfluous background elements while leaving foreground aspects on display and adding transparency where necessary to streamline everything for you.
Obey the rules of image composition
Whether you’re taking snaps yourself or using existing images to make a composite, you have to consider the tried and tested best practices for composition.
This basically means ensuring that your image's components are displayed in a pleasing, cohesive, and coherent way.
The rule of thirds can apply here, and you’ll see it used liberally online once you learn about it. Dividing an image vertically and horizontally with theoretical lines and then keeping the main subjects positioned appropriately within these sectors is a good way to envision this.
Also, don’t be afraid to leave empty space, as over-stuffing an image with detail can make it an assault on the senses.
Use a compression tool to keep the file size small
Once you are happy with your image, you need to upload it to your website, but not before you have saved it in a suitable format. Compression can also be carried out at this point, although it might not be necessary if the image is of a modest resolution.
If you need to make additional edits, AI-powered tools can also unblur images, restoring clarity to visuals that may otherwise have been unusable, and providing marketers with more options for compelling and high-quality content.
JPEGs and PNGs are the most popular formats but be sure to visit this post on how to optimize images for your website for more info!
Hire a freelance designer
Lastly, if you don’t want to mess with the hassle of editing images for your website yourself, and there’s no one on your team with the right skills, you can always outsource this.
You don’t have to recruit a graphic designer full-time since it has never been easier to find and hire experienced professionals in today’s online marketplace.
Whether you use a dedicated freelancer site like Fiverr, or you check out designers via their individual websites or even ask for recommendations, this is the perfect solution to your image editing blues.
Tell me…what do you use to edit your photos? Or, do you just upload what you’ve got and hope for the best?
Until next time,
Andrea
You might find these related posts helpful…


